DIY Upgrade For Any Staircase
Sometimes, the simplest solutions can be the best solutions. That was the case for Cait Pappas with @nestoutwest. Cait has been a partner of L.J. Smith since 2017, and when she moved into her new home, she knew she needed L.J. Smith Stair Parts in her new space.

Product Selection
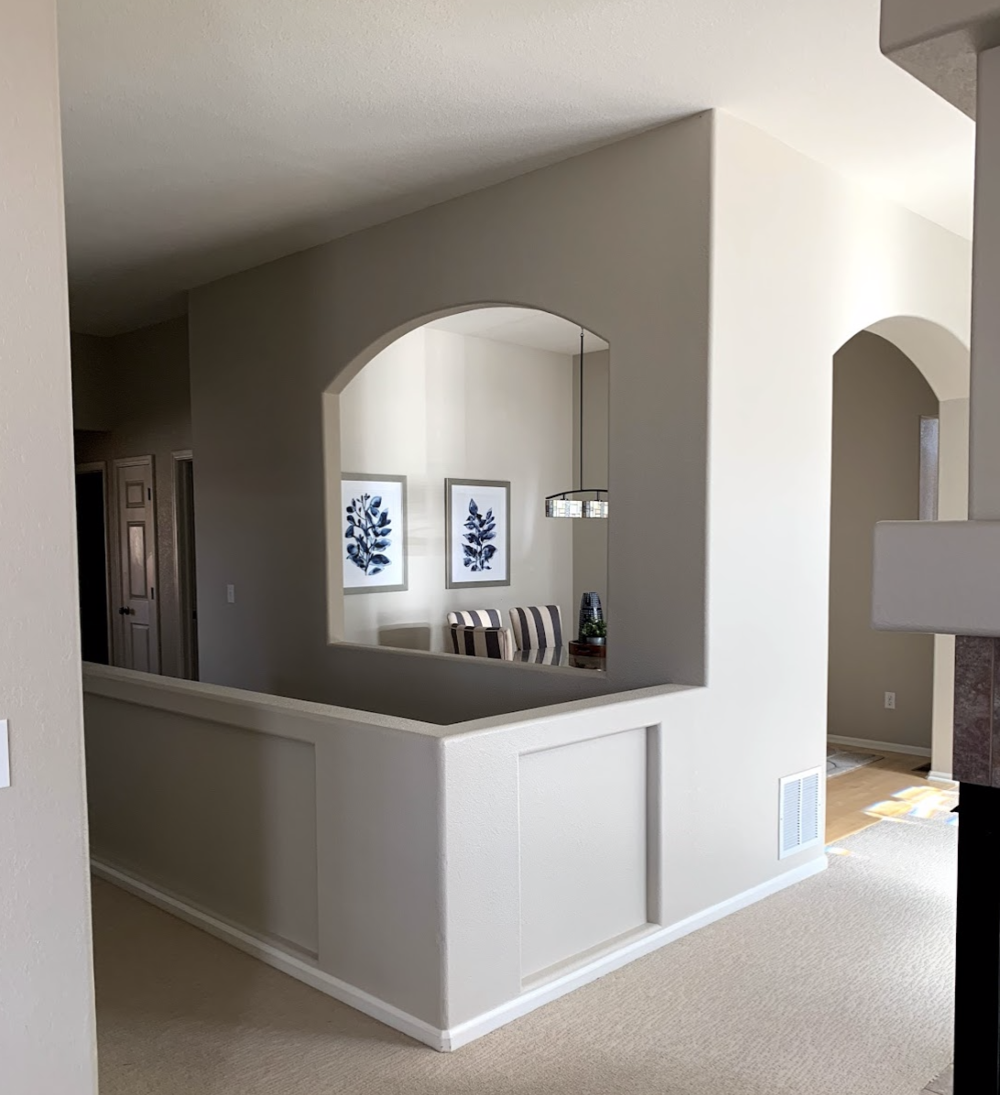
Cait started off with a solid half wall as a stair railing, and it did not match the style she was trying to create in her new home. Wanting to go for a more modern and minimalist look, she began researching the latest design trends in stair railings and landings. After some digging, she came up with a mood board and took it to the Pros.
Turning to L.J. Smith’s stair experts, the team helped Cait walk through what products would fit in with her space the best along with match the aesthetic she was hoping to achieve. After many emails back and forth, Cait landed on our simple Plain 1/2 Hollow Iron Balusters along with the new Concealed Iron Baluster Fasteners to achieve a clean and modern look.
Installation
While Cait and her husband Jason could have easily done this project themselves, they ended up utilizing a local carpenter to assist with this simple installation. Utilizing the following steps, their carpenter was able to complete this project in just a few hours. After laying out the parts and making sure everything was accounted for, the team measured and cut the pieces to size. After that, they simply followed the easy-to-understand manufacturer’s instructions:
This kit is for use with 1/2" square hollow iron balusters. Before starting the installation, balusters should already be trimmed to length from the bottom and the cut edge deburred.
1. Drill a 3/16" hole into the tread 1-1/2" deep at the baluster center point.
2. Install the dowel screw into the hole using vice grips positioned at the bottom of the top threads, or use a power drill runner* until the tread surface just reaches the smooth center portion of the dowel screw.
3. Slide the narrow end of the plastic insert into the bottom of the 1/2" square hollow iron baluster until the insert is flush with the baluster bottom.
4. Thread the baluster with insert onto the dowel screw until it contacts the tread/floor on all four corners and is turned to the desired position.
Tools Needed: Power Drill, 3/16" Twist Bit, vice grips or drill runner*
*Suggested drill runner: Item 2496N11 from McMaster-Carr
Once the Hollow Iron Balusters were ready to go, they drilled a hole for each iron newel post and installed using the newel mounting kit. They then drilled holes on the underside of the handrail to accept the baluster pin top. After attaching the handrail, they made sure everything was secure, and voila! Cati has a beautiful new stair railing from Novo x L.J. Smith Stair Systems!

Finished Space
After completing those simple steps, the finished space came together very quickly. The new Hollow Iron Balusters paired with the White Oak Handrail compliment her space so well. The sleek metal balusters also created a more modern and open landing.
“We are incredibly grateful for the generosity of Novo and L.J. Smith, as well as for their faith in us as a partner. They make quality, stunning stair systems, and I’m happy to be associated with them as we incorporate their products into the homes we live in and grow our families in.”
Check out more of Cait’s beautiful space on her Instagram!

Stay in the loop on this project by following L.J. Smith Stair System’s social media accounts. There will be plenty of beautiful photos to share and more project information on the blog.